티스토리 뷰
고민을 하다가 드디어 무료판을 벗어났습니다.
Community 버전에서는 tomcat을 넣어서 어떻게 하다가 너무 스트레스를 받아서 인지 질렀습니다. :(
Community를 쓰시는분들은 그냥 메이븐하세요...
IntelliJ Version : 2019.3.1
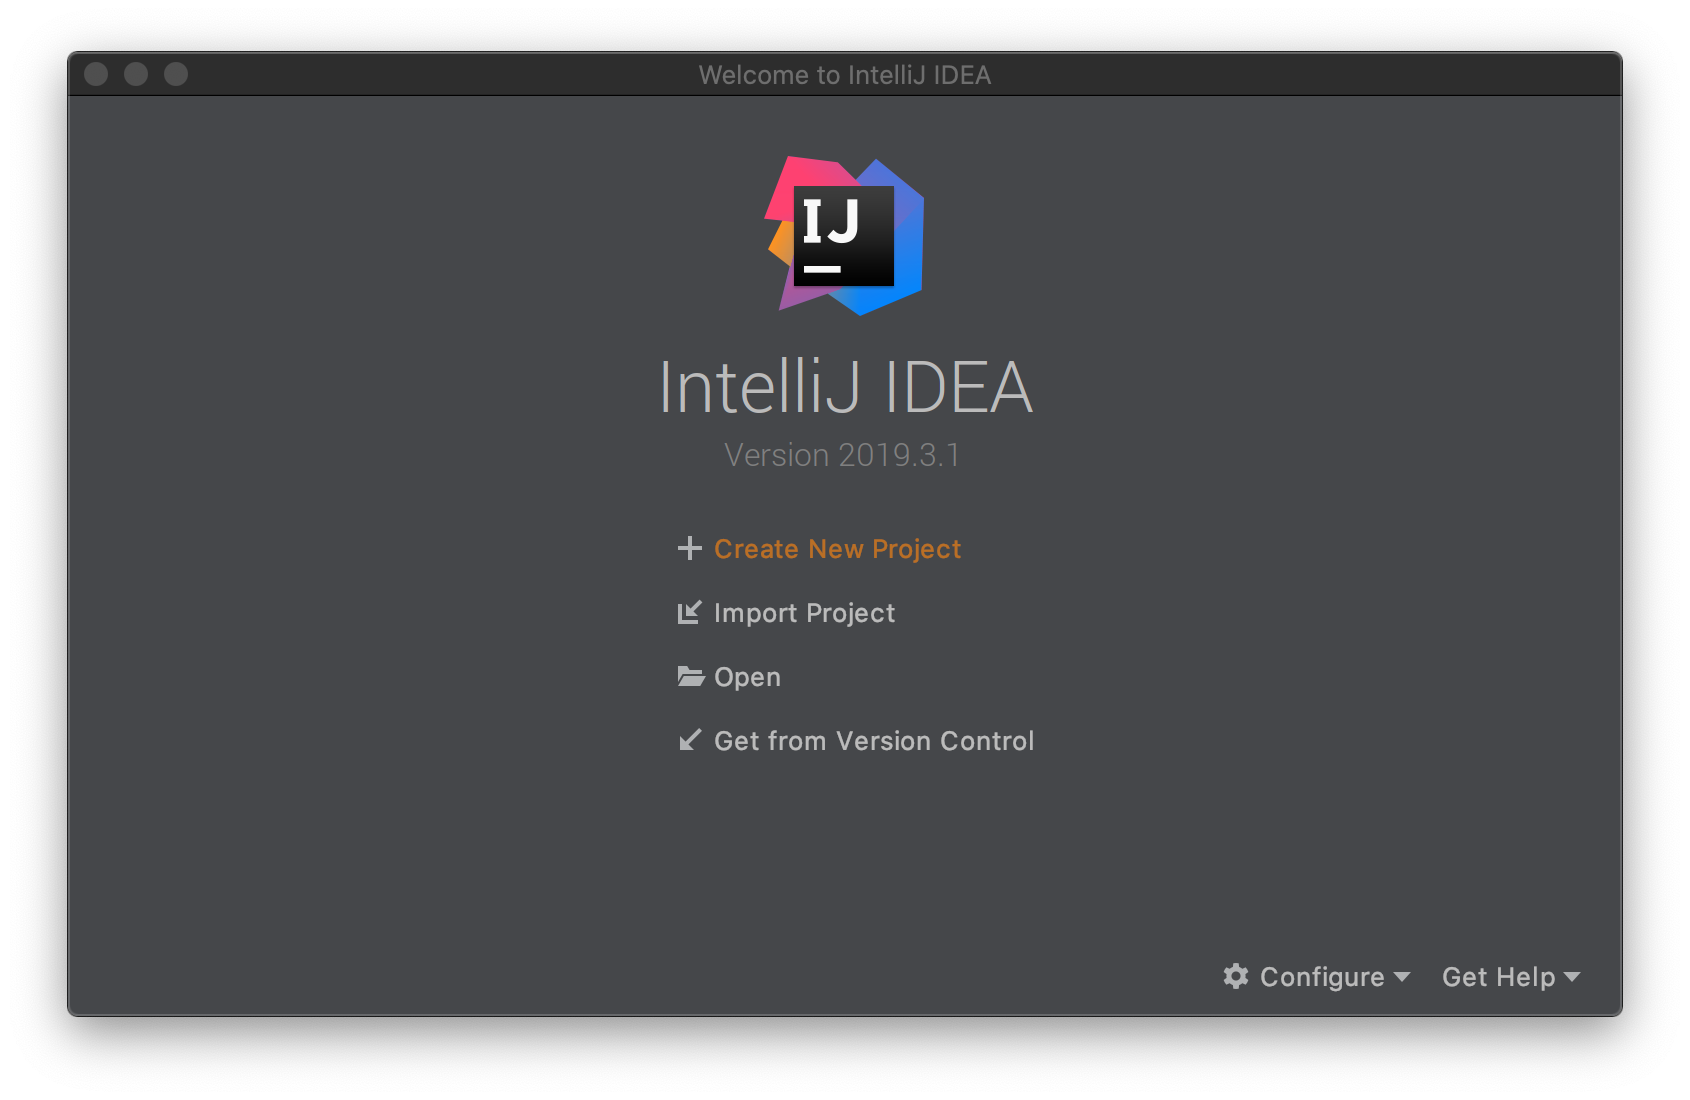
1. 프로젝트 생성
- Create New Project를 누릅니다.

- Gradle > Java를 선택합니다.

- Name과 Artifact등을 지정합니다.

2. build.gradle에 dependencies에 spring 추가
왜 그런지 프로젝트 생성할때 spring-mvc를 가지고 오면 오류가 발생합니다. 그래서 먼저 spring을 받아줍니다.
dependencies {
    testCompile group: 'junit', name: 'junit', version: '4.12'
    compile group: 'org.springframework', name: 'spring-webmvc', version: '5.0.8.RELEASE'
}
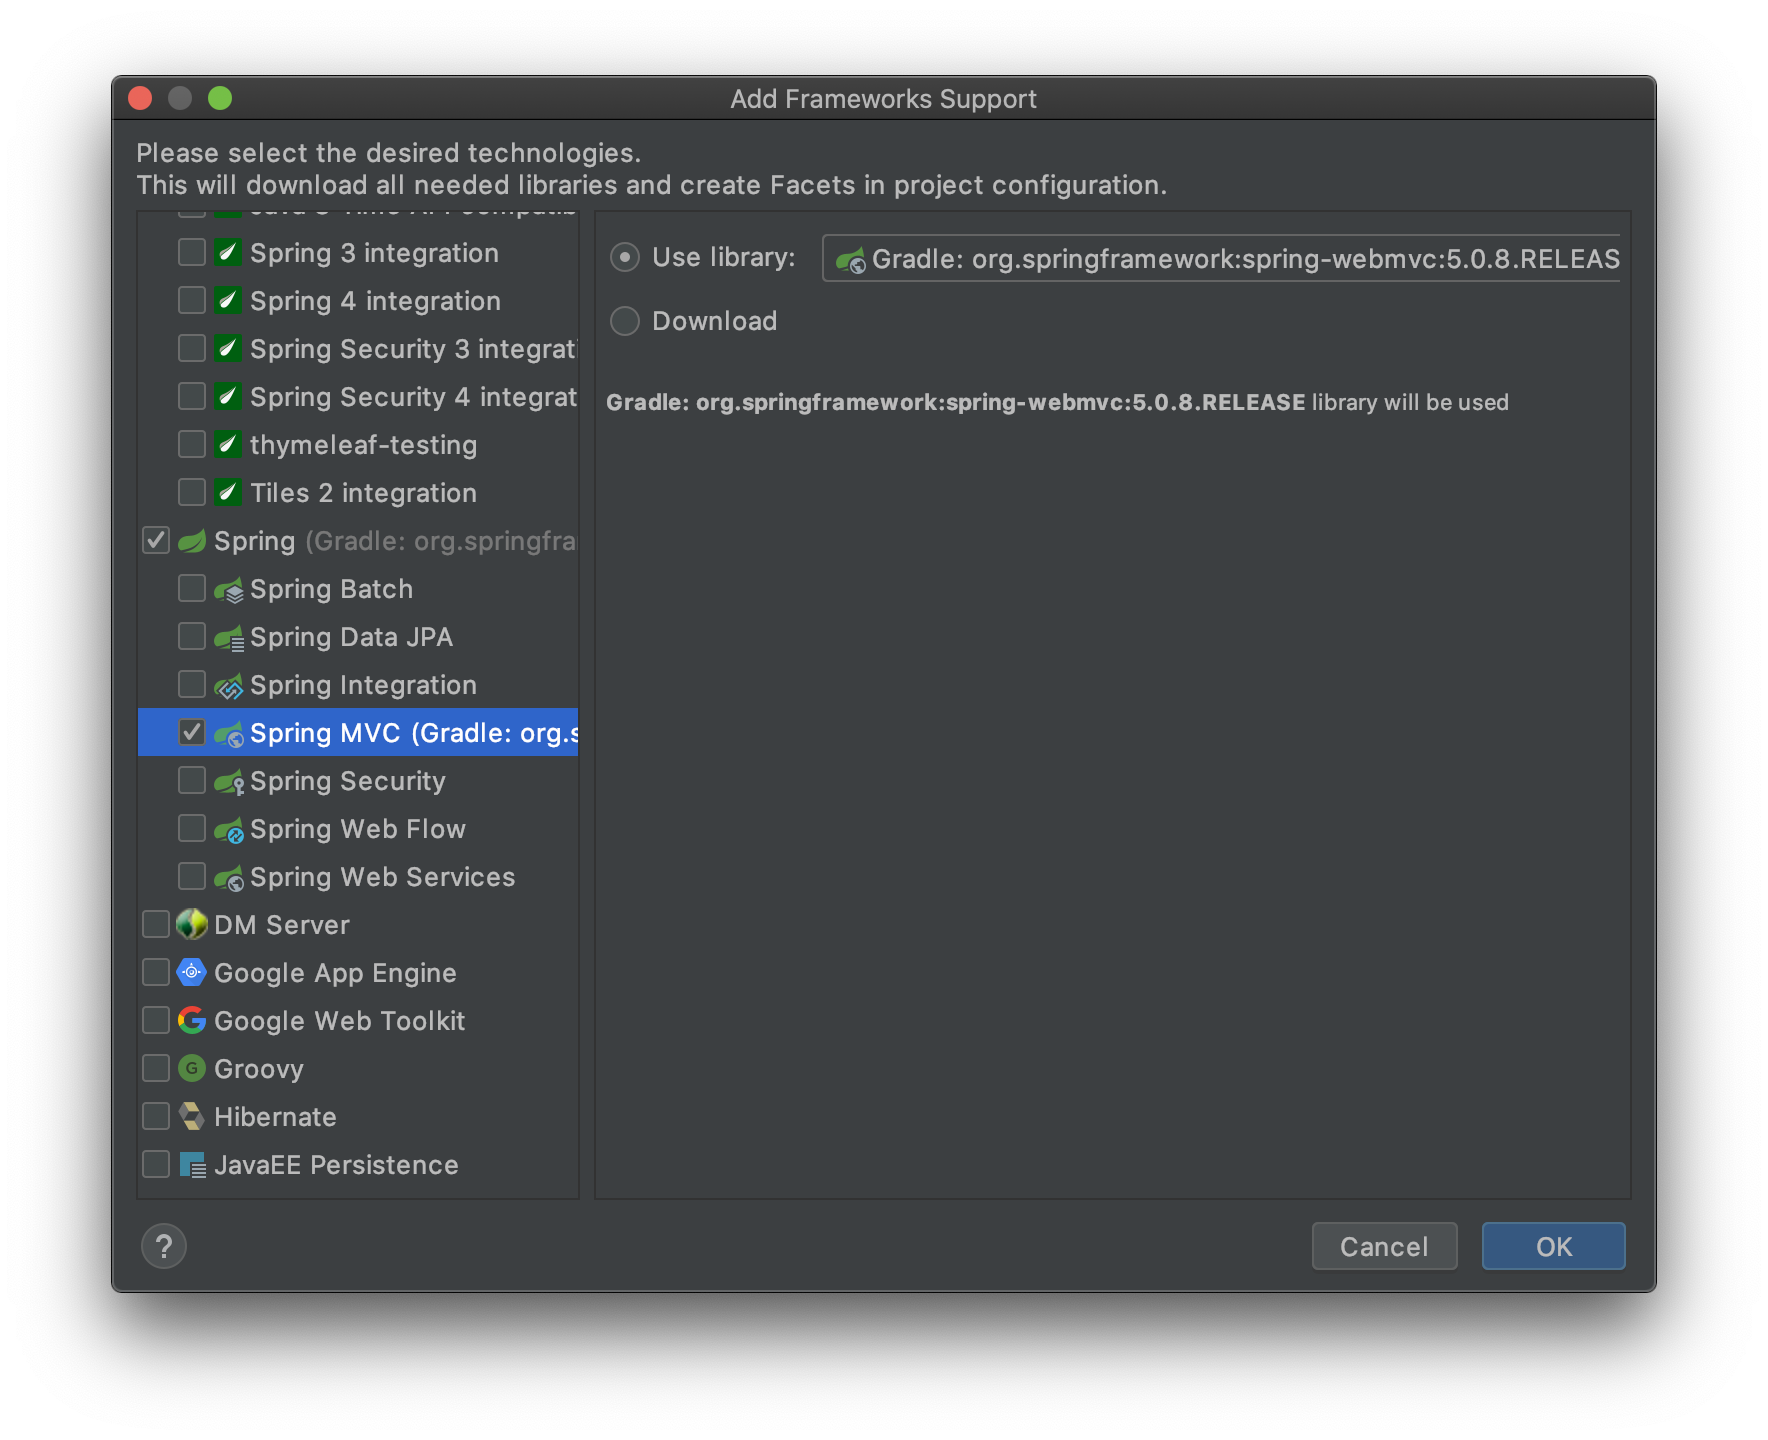
4. Add Frameworks Support
프로젝트 최상단에서 마우스를 오른쪽을 하면 Add Frameworks Support가 보입니다.
누른후 이제 아래쪽의 Spring MVC를 눌러줍니다.

먼저 받아진 Spring MVC를 이용하기 때문에 오류가 발생하지 않습니다.
그러고 나면 다음과 같이 폴더 구조가 변경됩니다.

좌란~~~
5. web.xml 파일 수정
Community 버전과는 다르게 기본적인 부분들이 다 들어가 있습니다. 😭고생 안해도 됩니다.
<?xml version="1.0" encoding="UTF-8"?>
<web-app xmlns="http://xmlns.jcp.org/xml/ns/javaee"
         xmlns:xsi="http://www.w3.org/2001/XMLSchema-instance"
         xsi:schemaLocation="http://xmlns.jcp.org/xml/ns/javaee http://xmlns.jcp.org/xml/ns/javaee/web-app_4_0.xsd"
         version="4.0">
    <context-param>
        <param-name>contextConfigLocation</param-name>
        <param-value>/WEB-INF/applicationContext.xml</param-value>
    </context-param>
    <listener>
        <listener-class>org.springframework.web.context.ContextLoaderListener</listener-class>
    </listener>
    <servlet>
        <servlet-name>dispatcher</servlet-name>
        <servlet-class>org.springframework.web.servlet.DispatcherServlet</servlet-class>
        <load-on-startup>1</load-on-startup>
    </servlet>
    <servlet-mapping>
        <servlet-name>dispatcher</servlet-name>
        <url-pattern>*.form</url-pattern>
    </servlet-mapping>
</web-app>
이런 느낌으로 뜰건데요. 여기서 수정할 부분은 url-pattern 부분입니다. 패턴중에 form만 받아지게 한건데 이걸 수정할거에요. /로요
그리고 여기는 Alt + Enter 하여서 에러를 제거하여 주세요

그리고 난 다음에 전체 모습입니다.

6. dispatcher-servlet.xml 수정
<?xml version="1.0" encoding="UTF-8"?>
<beans xmlns="http://www.springframework.org/schema/beans"
       xmlns:xsi="http://www.w3.org/2001/XMLSchema-instance"
       xmlns:context="http://www.springframework.org/schema/context"
       xmlns:mvc="http://www.springframework.org/schema/mvc"
       xsi:schemaLocation="http://www.springframework.org/schema/beans
       http://www.springframework.org/schema/beans/spring-beans.xsd
       http://www.springframework.org/schema/context
       http://www.springframework.org/schema/context/spring-context.xsd
       http://www.springframework.org/schema/mvc
       http://www.springframework.org/schema/mvc/spring-mvc.xsd">

    <!-- Annotation 활성화 -->
    <mvc:annotation-driven/>
    <!-- Component 패키지 지정 -->
    <!--suppress SpringXmlModelInspection -->
    <context:component-scan base-package="com.test.controller"/>

    <!-- 여기서 설정한 내용으로 view object의 이름이 결정된다. -->
    <bean class="org.springframework.web.servlet.view.InternalResourceViewResolver">
        <property name="prefix" value="/WEB-INF/views/"/>
        <property name="suffix" value=".jsp"/>
    </bean>
</beans>
7. WEB-INF 아래에 views 생성후 index.jsp 파일 이동후 내용 수정
<%@ page contentType="text/html;charset=UTF-8" language="java" %>
<html>
  <head>
    <title>Hello</title>
  </head>
  <body>
  ${msg}
  </body>
</html>
8. File > Project Structure
간단히 단축키로는 cmd + ; 입니다. 안에 들어가서 Artifacts를 다 넣어주면 됩니다.

오른쪽 이 부분을 다 더블클릭해서 이렇게 바꾸세요

9. Controller 만들기
src/main/java에 package를 만들어 줍니다. 원하는것으로요... 저는 com.test.controller
그 아래에 파일을 만들어 줍니다. 저는 MainController로 했습니다.

내용은 이래요
package com.dh.controller;

import org.springframework.stereotype.Controller;
import org.springframework.ui.Model;
import org.springframework.web.bind.annotation.RequestMapping;

@Controller
public class MainController {

    @RequestMapping(value = "/")
    public String test(Model model) {
        model.addAttribute("msg", "Hello world");
        return "index";
    }
}
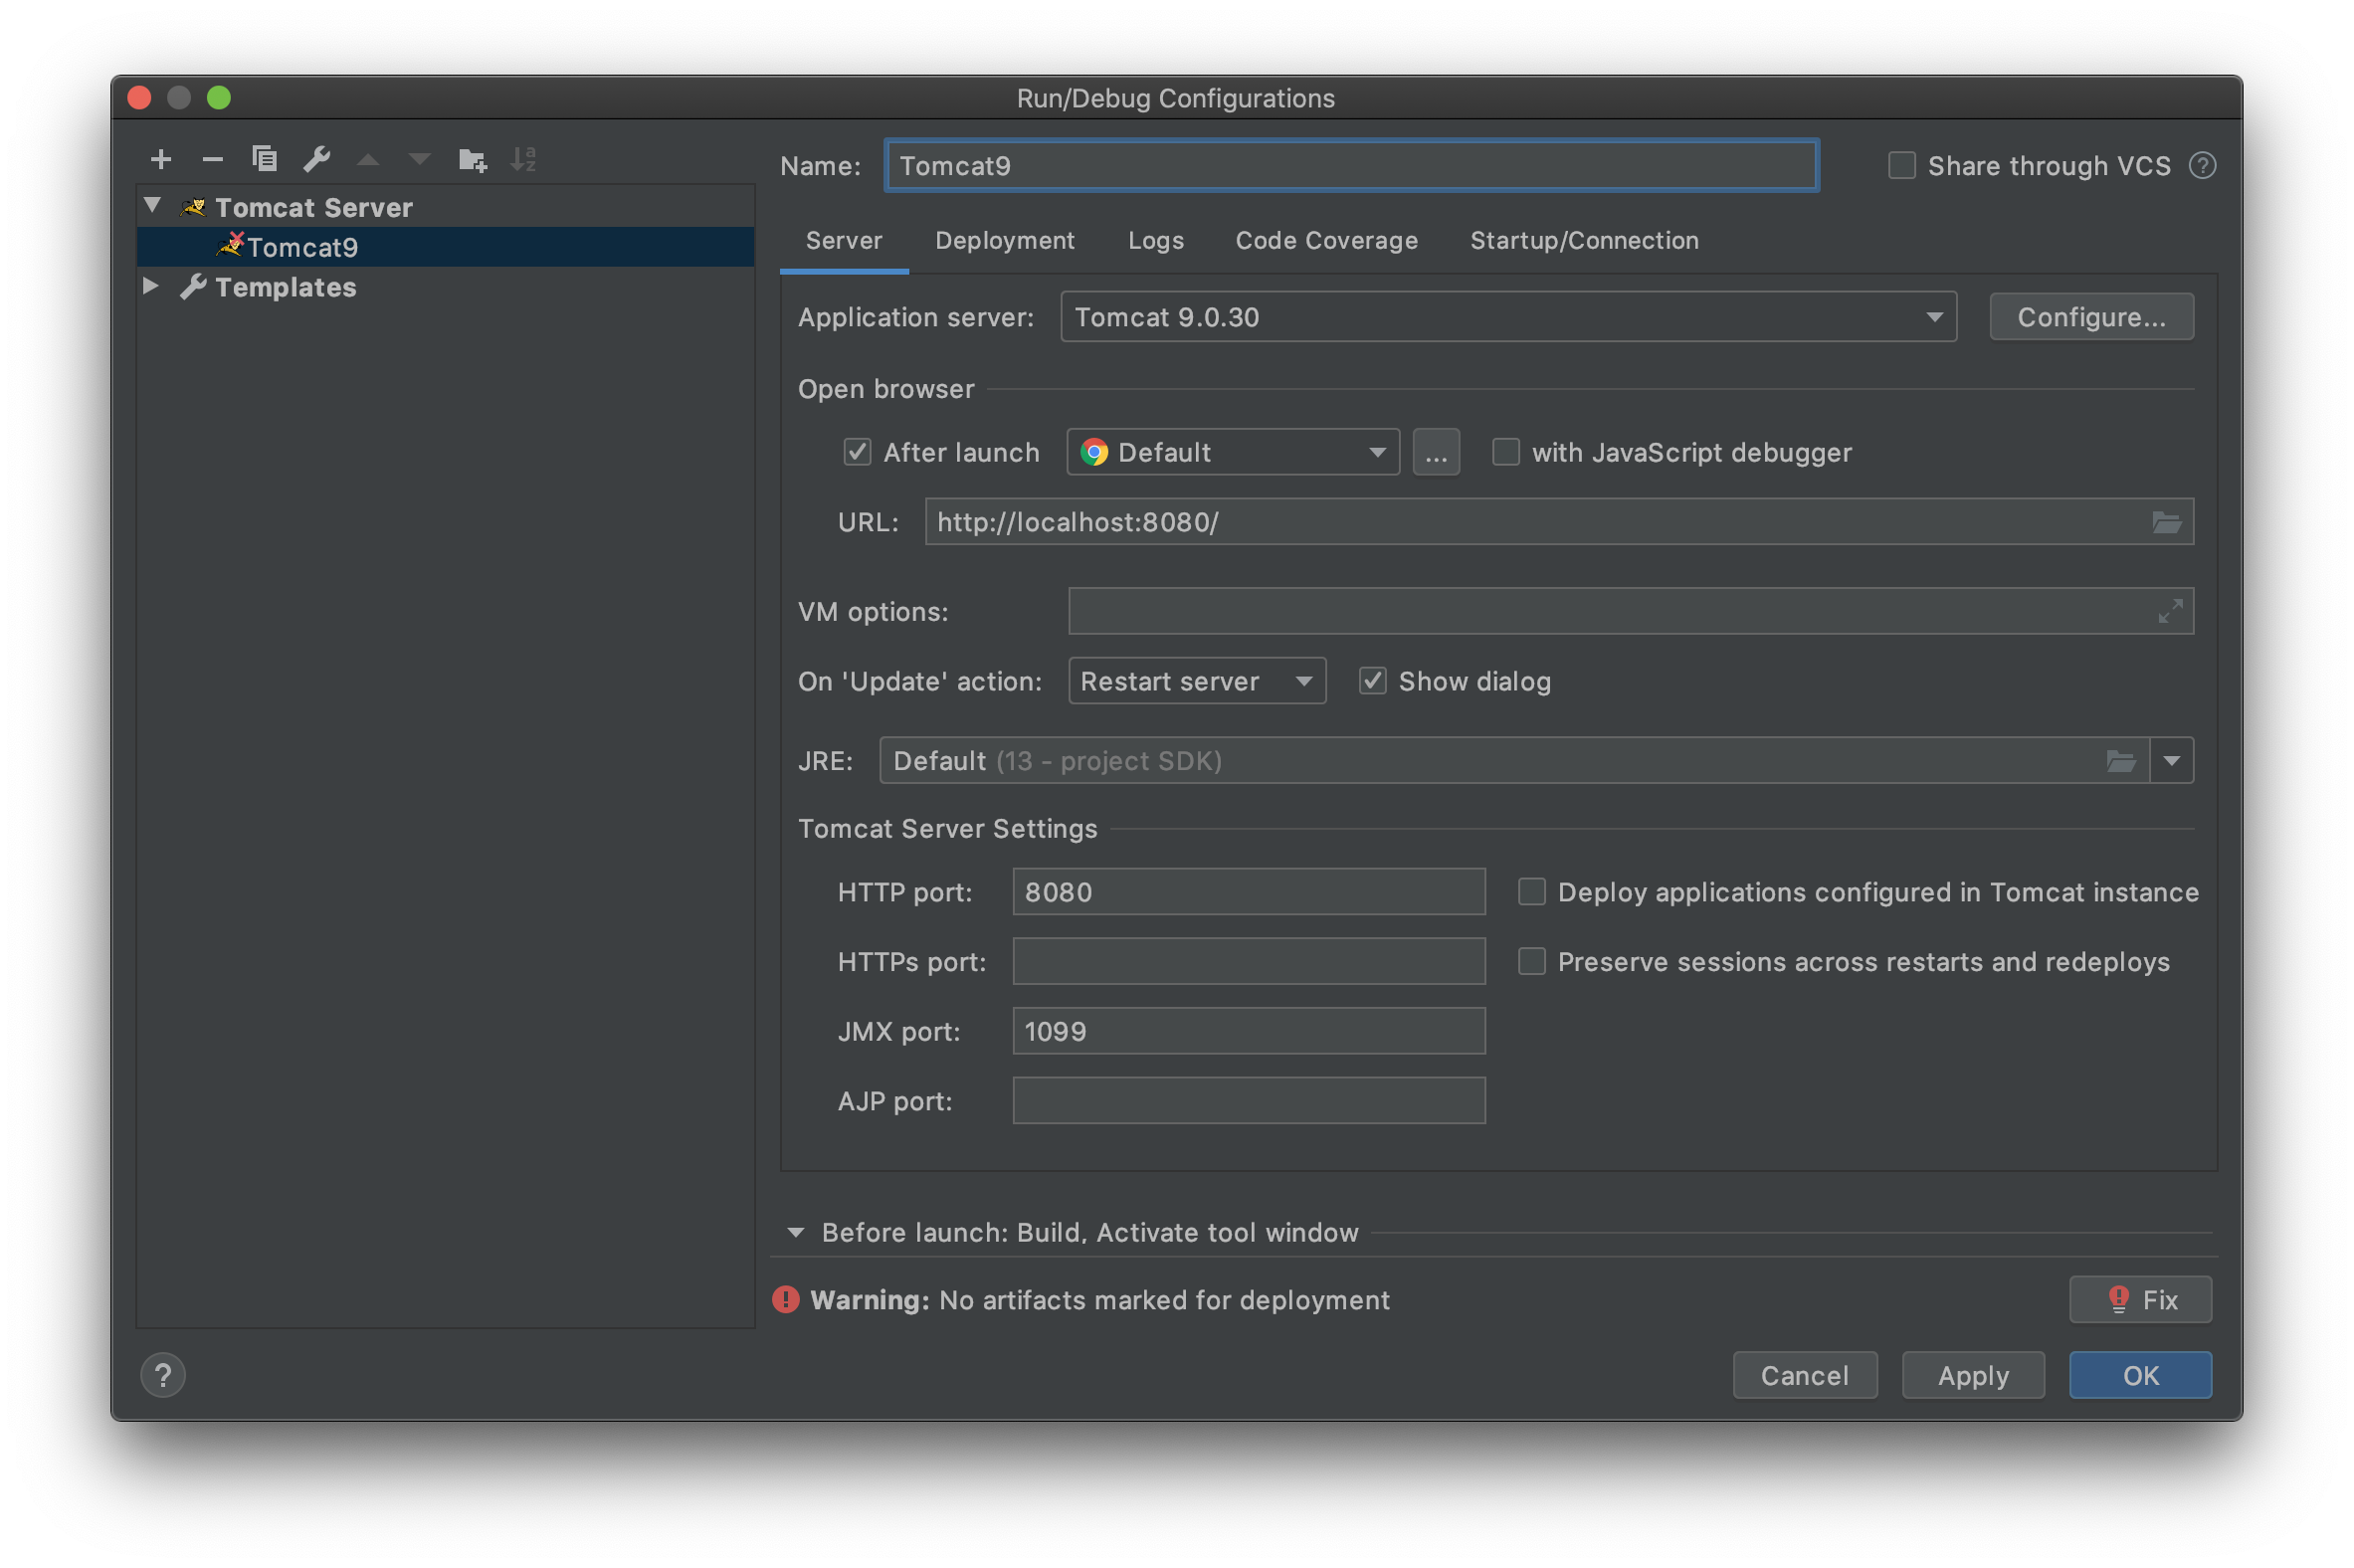
10. Tomcat 설정
톰캣을 설치하는거까지는 제가 설명하지는 않으려 합니다.
- 상단에 Add Configuration... 을 눌러줍니다. 그리고 톰캣을 골라줍니다.

Deployment tap에서 +를 눌러서 추가하여 줍니다.


Application context는 /로 만들어주세요. 뭔가 주욱 길게 가서 귀찮아 집니다.
11. 그리고 나서 실행을 해보면?
여러분의 localhost:8080에서 확인 바랍니다.
Hello world라고 나오면 성공 한겁니다.
그럼 즐 코딩
샘플 코드
https://github.com/outofcode-example/spring-mvc-gradle
outofcode-example/spring-mvc-gradle
spring mvc gradle sample. Contribute to outofcode-example/spring-mvc-gradle development by creating an account on GitHub.
github.com
'Backend > Server' 카테고리의 다른 글
| IntelliJ. spring-mvc 구조를 annotation을 이용하여 만들기 (0) | 2020.01.18 |
|---|---|
| IntelliJ. spring-webmvc + gradle + tomcat. web application 구조로 만들기 (0) | 2020.01.18 |
| IntelliJ IDEA CE. Spring Boot + Gradle + View (0) | 2020.01.17 |
| IntelliJ IDEA CE. Spring Boot + Gradle (2) | 2020.01.17 |
| netstat로 정상적으로 구동되고 있는지 확인하여 보기 (0) | 2020.01.16 |
- Total
- Today
- Yesterday
- Codable
- CentOS
- php
- docker
- Spring
- ubuntu
- Python
- MySQL
- Kotlin
- enum
- Gradle
- windows10
- rxswift
- golang
- nodejs
- tomcat
- cocoapods
- war
- Xcode
- android
- Linux
- git
- github
- centos8
- SWIFT
- Windows
- ios
- intellij
- Java
- go
| 일 | 월 | 화 | 수 | 목 | 금 | 토 |
|---|---|---|---|---|---|---|
| 1 | 2 | 3 | ||||
| 4 | 5 | 6 | 7 | 8 | 9 | 10 |
| 11 | 12 | 13 | 14 | 15 | 16 | 17 |
| 18 | 19 | 20 | 21 | 22 | 23 | 24 |
| 25 | 26 | 27 | 28 | 29 | 30 | 31 |
